
Top Treatments for Sun Damaged Skin
- Colleen Jenkins
- 4 days ago
- 17 min read

Staring in the mirror at those creeping sun spots, fine lines, or that patchy texture? It’s a common story we hear every day. The good news is that effective treatments for sun-damaged skin are more accessible than ever, running the gamut from powerful at-home creams and professional chemical peels to sophisticated laser therapies. Each one offers a different way to repair and rejuvenate your skin.
Understanding Your Sun Damage Treatment Options
If you've started noticing changes in your skin—maybe stubborn brown spots that won't fade, fine lines around your eyes, or a general loss of that youthful firmness—you're seeing the long-term effects of sun exposure.
Think of your skin like a photograph left out in the sun. Over time, the colours bleach out and the paper becomes brittle and fragile. In a similar way, ultraviolet (UV) radiation from the sun systematically breaks down your skin’s essential support structures, like collagen and elastin.
This isn’t something that happens after one bad sunburn. It's the slow, steady accumulation of damage from countless moments spent outside—from childhood holidays to your daily commute. The harm begins deep at a cellular level long before you ever see visible wrinkles or pigmentation on the surface. Getting your head around this is the first real step toward picking the right treatment for you.
The image below breaks down how this process unfolds, from that initial UV exposure to the visible signs you might be seeing now.
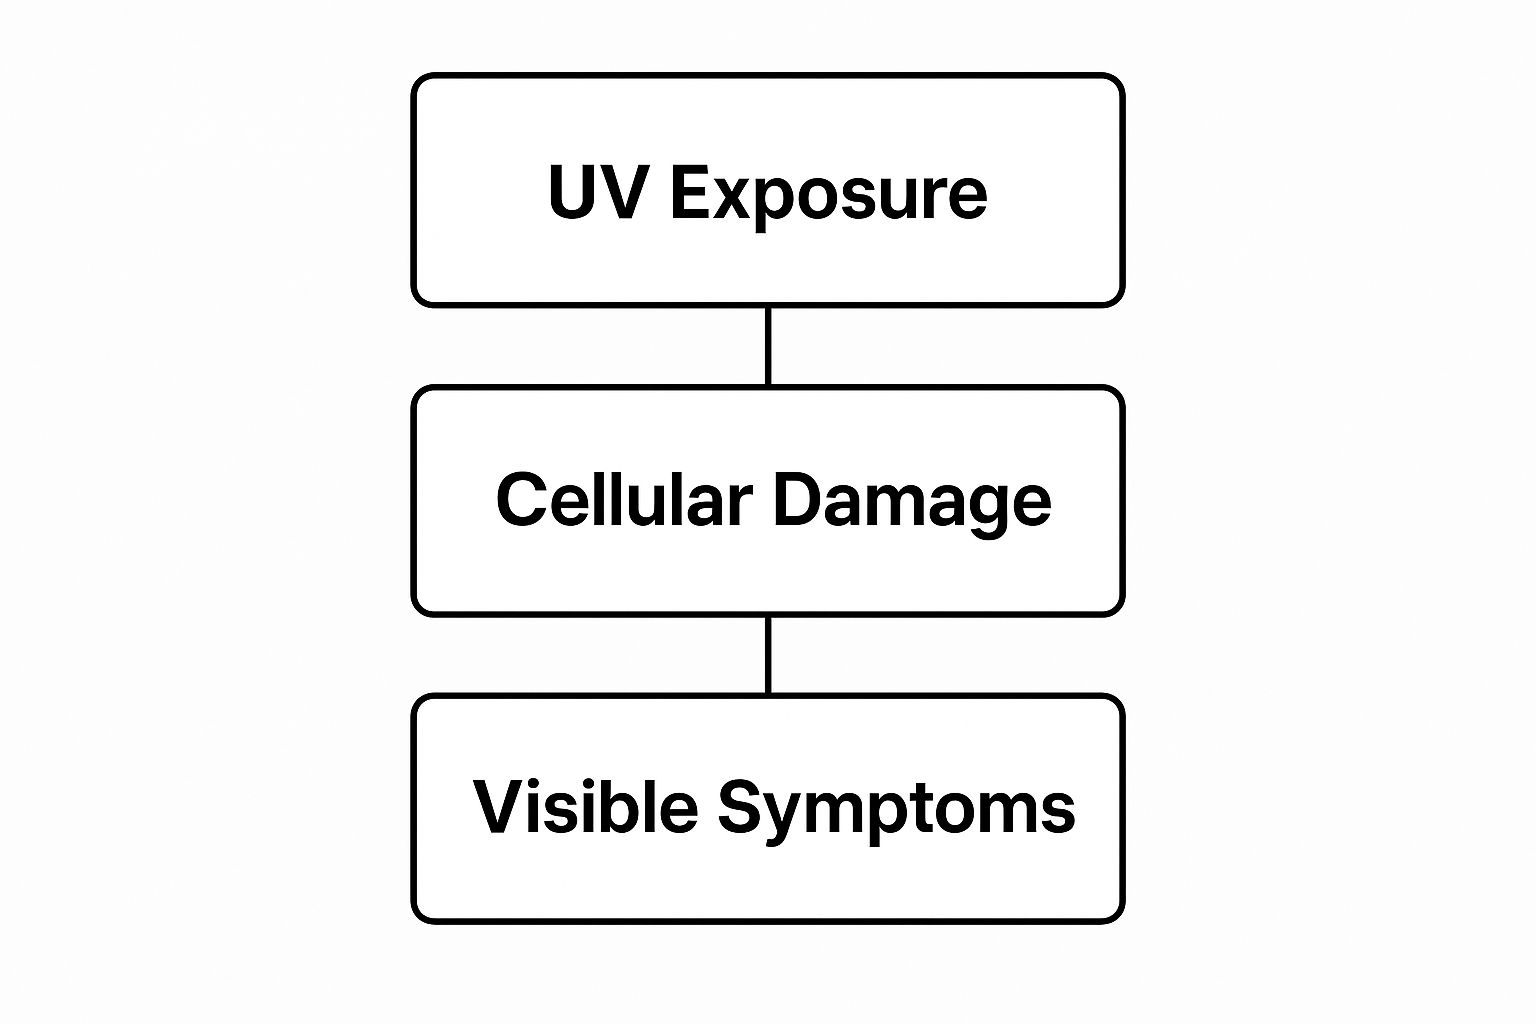
This really brings it home: the cosmetic issues we worry about are just the tip of the iceberg, symptoms of much deeper cellular disruption caused by UV rays.
Why Addressing Sun Damage Matters
It’s about more than just looking better. Sun damage is a serious health concern. Here in the UK, we see around 16,700 new cases of melanoma diagnosed every year—that’s an average of 46 every single day. What’s truly alarming is that melanoma rates have shot up by about 32% in the past decade.
But here’s the crucial statistic: an estimated 86% of these cases are preventable with proper sun protection. For a deeper dive into these stats, Melanoma Focus provides comprehensive details. This really underscores the point that treating sun damage is as much about your long-term health as it is about aesthetics.
A Roadmap To Repairing Your Skin
Feeling a bit lost in all the options? That's completely normal. The key is to match the treatment to the specific type and severity of your sun damage.
Think of it like fixing up a weathered wooden table. You can buff out some minor scuffs with a bit of polish at home. But for deeper grooves and stains, you'll need professional tools to properly sand down and refinish the surface. Your skin works in much the same way.
To help you get started, here’s a quick overview of the main treatment categories available.
Quick Guide to Sun Damage Treatment Categories
This table summarises the main approaches, what they're designed to fix, and who they're generally best for.
Treatment Category | Best For | Intensity Level | Typical Cost |
|---|---|---|---|
Topical Treatments | Mild pigmentation, fine lines, prevention | Low (At-home) | £30 - £150+ |
Chemical Peels | Uneven tone, texture, superficial spots | Low to Medium | £80 - £400+ |
Laser & Light Therapies | Stubborn pigmentation, broken capillaries | Medium to High | £200 - £1,500+ |
Restorative Treatments | Loss of firmness, scarring, deep lines | Medium | £150 - £500+ |
From your daily skincare routine to more intensive clinical procedures, there's a solution for every level of concern. This guide will walk you through each of these categories, giving you the practical, no-nonsense advice you need. We'll demystify the science, explain what you can realistically expect, and give you the confidence to start restoring your skin's health and radiance.
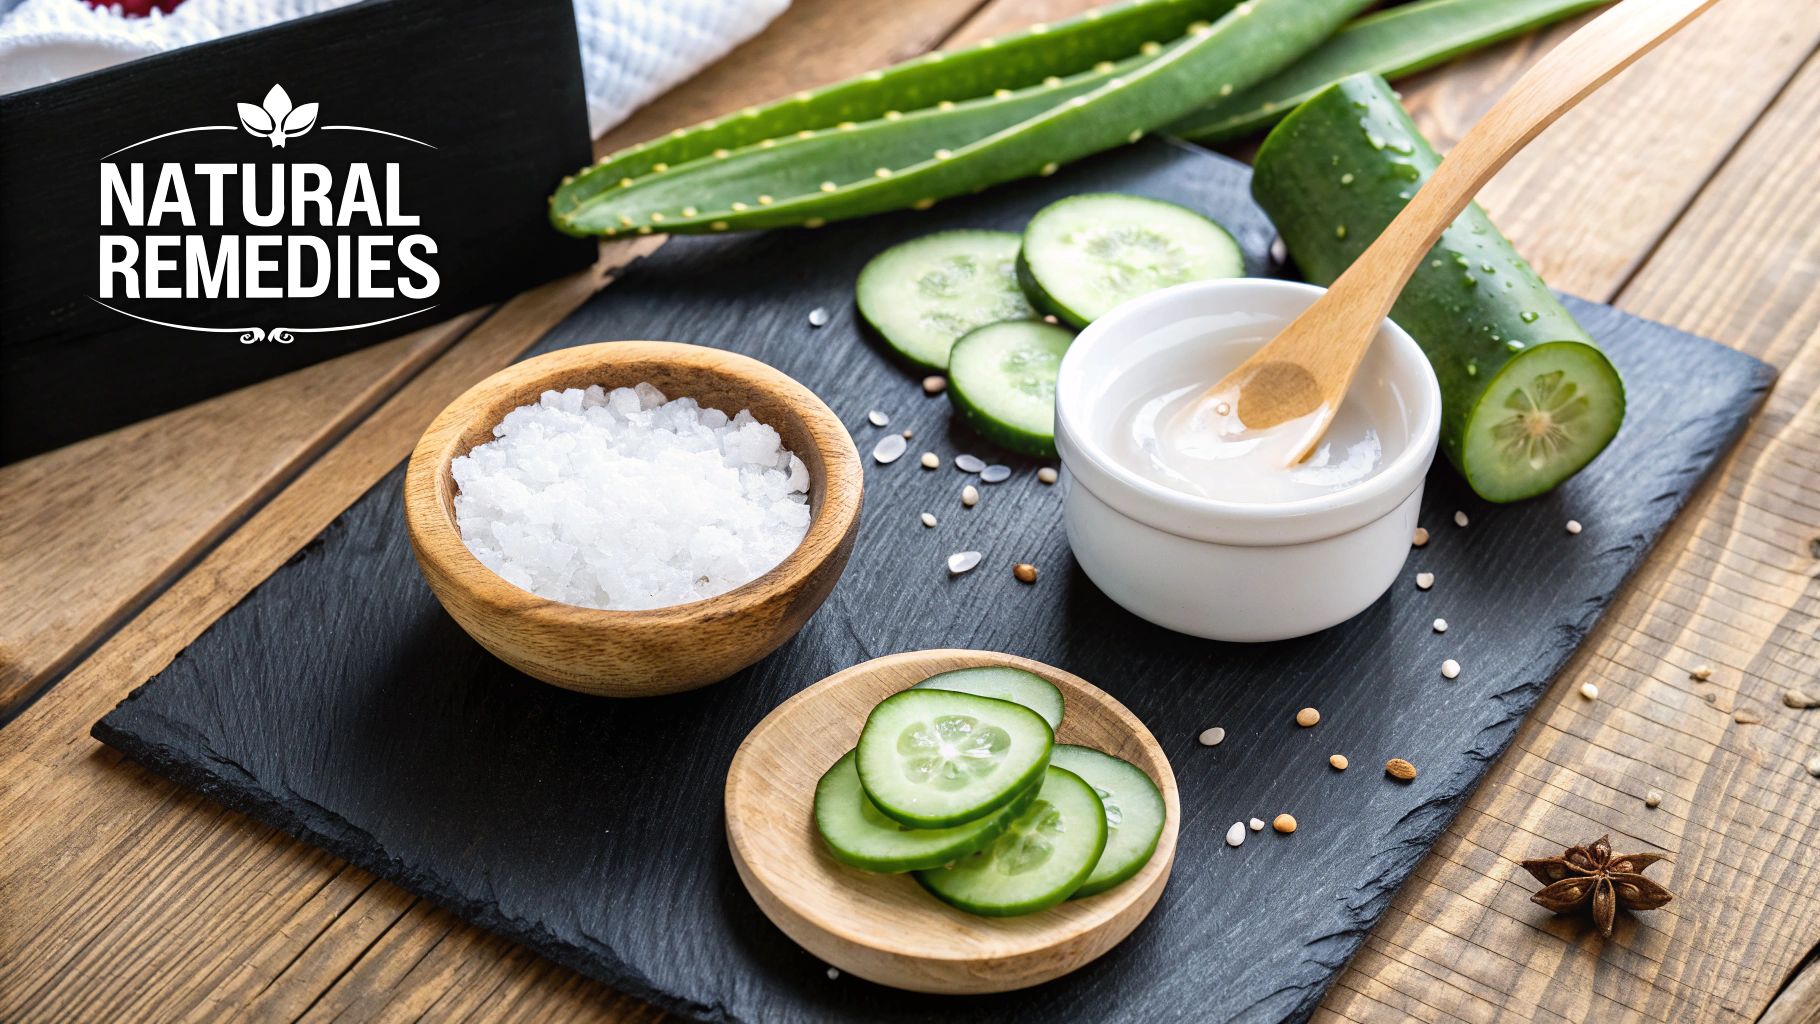
Your At-Home Sun Damage Repair Kit
The journey to brighter, healthier skin doesn’t have to start in a clinic. In fact, the most crucial work happens right in your own bathroom. While professional treatments can deliver dramatic results, a solid, consistent at-home routine is the foundation for tackling sun damage head-on. This is where you lay the groundwork.

Think of it as your daily skin workout. You wouldn't expect to get fit with a single trip to the gym, and you can't undo years of sun exposure with one blob of cream. It’s the consistency that truly makes a difference. Let's walk through the powerhouse ingredients that form the core of effective treatments for sun damaged skin you can use at home.
The Gold Standard: Retinoids
When it comes to ingredients with serious scientific backing, retinoids are in a league of their own. This family of Vitamin A derivatives works by essentially reprogramming your skin cells.
They latch onto receptors in the cells and tell them to start behaving like younger, healthier versions of themselves. This kicks cellular turnover into high gear, speeding up how quickly old, damaged surface cells are shed and replaced with fresh ones. Over time, you’ll see fewer fine lines, a fading of dark spots, and a much smoother texture.
“Introducing retinoids can feel like a big step, but their ability to remodel skin is unmatched in topical skincare. The key is starting low and slow to allow your skin to acclimatise, preventing the irritation that can put people off.”
It’s so important to start with a low concentration (around 0.3%) just a few nights a week. As your skin gets used to it, you can gradually use it more often. Be patient here; it can easily take three to six months before you see the really significant, lasting changes.
The Protective Power of Vitamin C
If retinoids are your night-time repair crew, then Vitamin C is your daytime security guard. It’s a brilliant antioxidant that excels at neutralising the unstable molecules, known as free radicals, that UV light unleashes on your skin.
A good Vitamin C serum in the morning gives you an extra layer of defence that works in tandem with your sunscreen to fend off daily damage. But that’s not all it does. Vitamin C is also fantastic for brightening the complexion. It actively interferes with the process that creates excess pigment, which helps to lighten existing brown spots and stop new ones from appearing.
For best results, look for serums containing L-ascorbic acid, the most well-researched form of Vitamin C, at a concentration between 10% and 20%.
Exfoliating Acids for a Brighter Surface
The final pillar of your at-home routine is chemical exfoliation, and for this, we turn to alpha-hydroxy acids (AHAs).
Put simply, these acids work by gently dissolving the "glue" that binds dull, pigmented dead cells to the surface of your skin. This clears the way, revealing the newer, more evenly-toned skin that’s been hiding underneath.
Glycolic Acid: This one has the smallest molecule size, meaning it can penetrate deeply to really get to work on texture and discolouration.
Lactic Acid: A much gentler AHA that also hydrates the skin, making it a perfect choice if your skin is on the drier or more sensitive side.
Adding an AHA toner or serum to your routine two or three times a week can make a huge difference. It clears the path so that your other powerhouse products, like retinoids and Vitamin C, can sink in properly and work that much harder. When you combine these key ingredients, you create a powerful system that both repairs existing damage and protects your skin from whatever the day throws at it.
When to Consider Professional Chemical Peels
So, you’ve been diligent with your at-home routine—your retinoids and vitamin C serums are doing their best—but those stubborn signs of sun damage just won’t budge. If you feel like you’ve hit a plateau, it might be the right time to explore professional chemical peels.
Forget the scary, dramatic portrayals you might have seen in films. Today's peels are sophisticated, controlled treatments designed to give your skin the professional reset it needs.
Think of it like this: your daily skincare is like a light dusting, keeping the surface clear. A professional peel is more like calling in an expert to carefully sand down and refinish a piece of antique furniture, revealing the smooth, pristine material hidden just beneath. It's a significant step up in the catalogue of treatments for sun damaged skin.
The process itself is far less daunting than it sounds. A specialist applies a carefully chosen acid solution to your skin. This works to dissolve the glue holding old, sun-damaged cells together on the surface, triggering a natural healing response. Your skin gets the message to produce fresh collagen and bring new, healthy cells to the forefront.
Finding the Right Peel for Your Skin
Not all peels are created equal. They’re available in various strengths, each one formulated to target a different level of sun damage. A skilled practitioner is your best guide, but it helps to have a basic understanding of what’s on offer.
Superficial (Light) Peels: These are the perfect entry point. Using mild acids like glycolic or salicylic acid, they work on the very outermost layer of skin. They’re brilliant for brightening a dull complexion, fading minor pigmentation, and softening the finest of lines. Downtime is minimal, so you can get back to your life quickly.
Medium-Depth Peels: When sun damage is more pronounced, a medium peel might be the answer. These often use Trichloroacetic Acid (TCA) to penetrate deeper, making them highly effective for tackling obvious sun spots, deeper lines, and uneven skin texture. You can expect a bit more downtime, but the results are far more noticeable.
A thorough consultation is the non-negotiable first step. This is your opportunity to discuss your goals and for the practitioner to properly assess your skin, ensuring they recommend the perfect peel for you.
What to Expect During and After a Peel
During the treatment, it's normal to feel a warm, tingling, or slightly stinging sensation as the solution works its magic. This usually only lasts for a few minutes while the acid is active, and your practitioner will be right there to make sure you’re comfortable.
The healing process is what makes or breaks your result. It’s less about dramatic "shedding" and more about controlled, gentle flaking. Your new skin is incredibly delicate, and following the aftercare advice to the letter is what guarantees a beautiful, even-toned outcome.
After your appointment, your skin will likely look a bit red and feel tight, much like a mild sunburn. Over the next few days, you'll see some flaking as the old layer makes way for the fresh, new skin underneath.
Preparing for Your Peel and Aftercare
Getting the most out of your chemical peel begins well before you even step into the clinic and continues long after you've left.
Pre-Treatment Care: Your practitioner will likely ask you to stop using active ingredients like retinoids or exfoliating acids for a week or two beforehand. This is crucial to avoid over-sensitising your skin.
Post-Treatment Care: After a peel, your skin is vulnerable. Sun protection is absolutely essential—think broad-spectrum, high-SPF sunscreen, applied religiously. You'll also need to switch to gentle, hydrating cleansers and moisturisers to support the healing process.
By powerfully accelerating cell turnover, chemical peels can create a remarkable improvement in sun-damaged skin. If you're curious about how they stack up against other options, you might find our guide comparing mild chemical peels with other treatments like microneedling and LED therapy helpful.
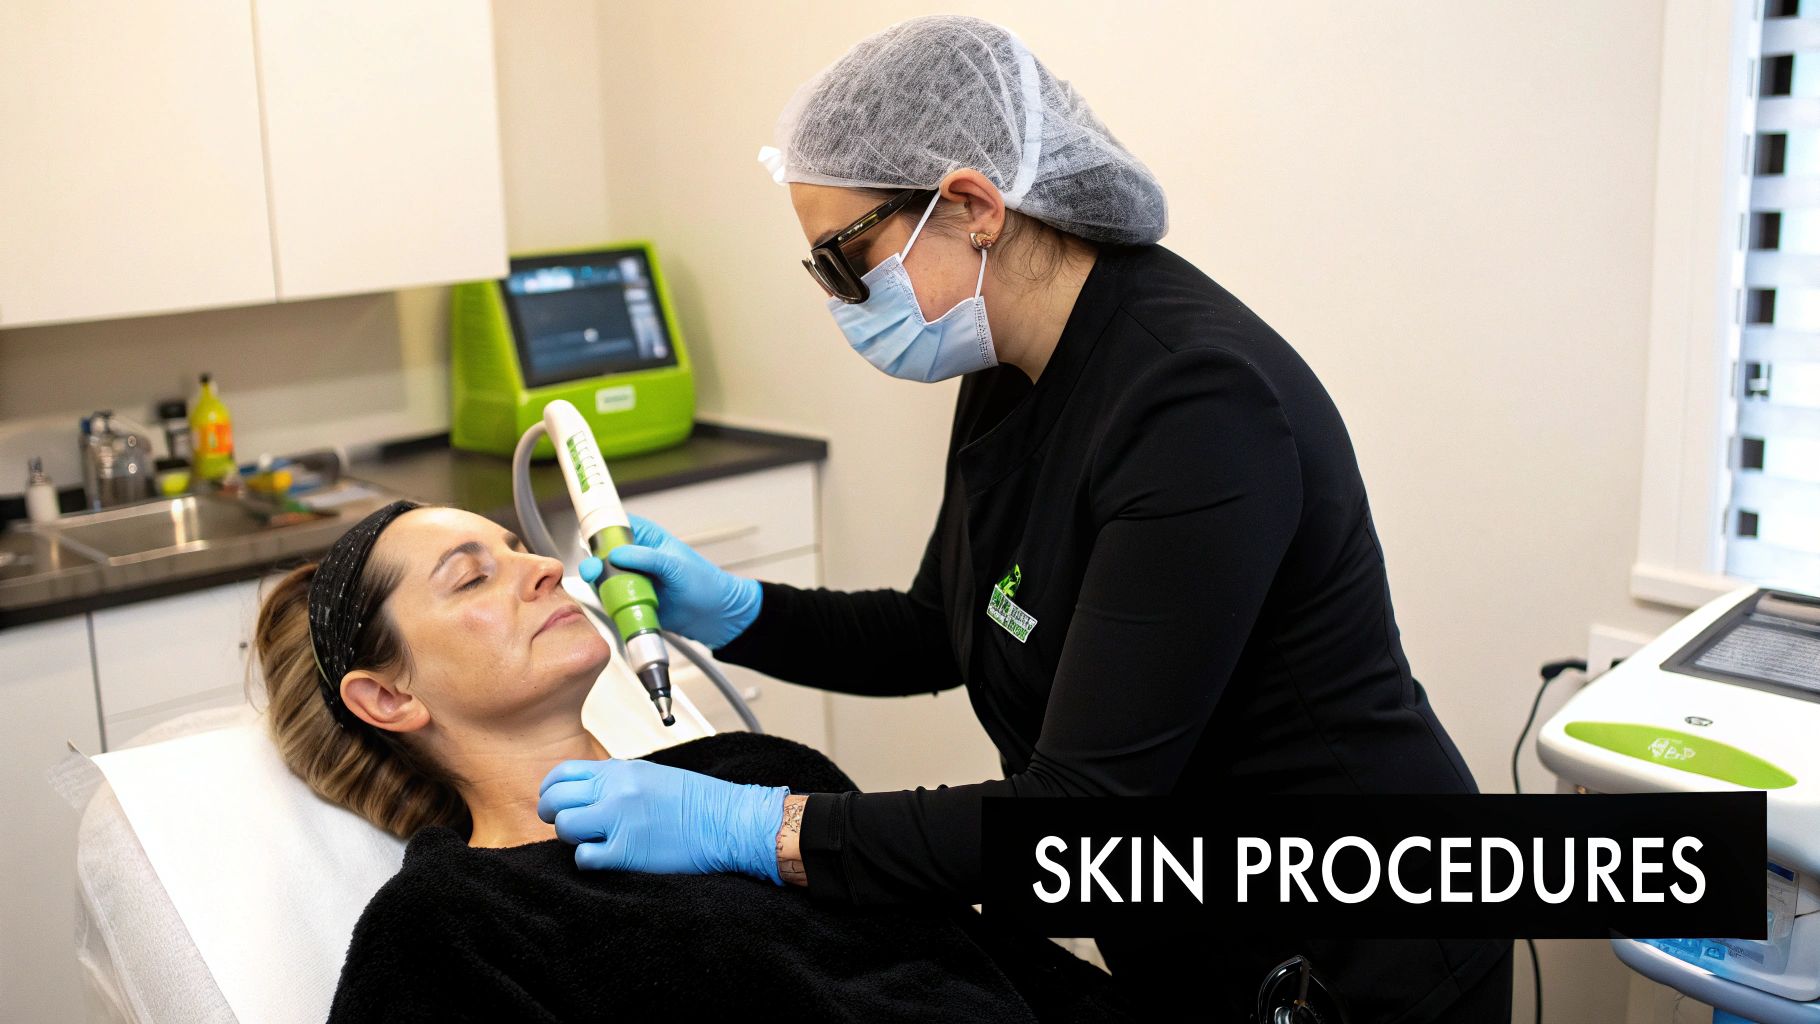
When at-home products and peels just aren’t cutting it, it might be time to bring in the big guns. Laser and light therapies are a major step up, using focused energy to tackle sun damage with incredible precision. While the technology might sound complicated, the idea behind it is actually quite simple—and very effective.
These treatments aren't just skimming the surface; they’re designed to have a conversation with your skin at a cellular level. Imagine having a tool that can selectively find and erase unwanted pigmentation or kickstart a deep healing response, all without bothering the healthy tissue around it. That's exactly what these advanced devices do.
Let's break down the main players in this category—Intense Pulsed Light (IPL) and the different types of lasers—so you can get a real feel for how they work and which one might be right for your skin.
Intense Pulsed Light (IPL): The Pigment Finder
First up is IPL, often called a photofacial. It’s not technically a laser but instead uses broad-spectrum light delivered in quick, powerful flashes.
Think of it like a smart camera flash that’s been calibrated to seek out specific colours in your skin. When the light hits its target—either the brown pigment in sun spots (melanin) or the red pigment in broken capillaries—the energy is absorbed and instantly converts to heat. This heat shatters the pigment or seals off the tiny blood vessel, breaking it down. Over the next few weeks, your body’s natural clean-up crew gets to work, clearing away these fragments and leaving you with a clearer, more even skin tone.
A typical IPL session feels like a series of quick, hot snaps against the skin, a bit like a rubber band being flicked. It’s fantastic for tackling widespread, surface-level discolouration on the face, neck, chest, or hands. For the best outcome, you'll likely need a course of 3 to 4 treatments, spaced about a month apart, to systematically clear the damage.
Non-Ablative Lasers: Heating Things Up for Collagen
Next, we have non-ablative lasers. The key difference here is that these treatments work their magic under the skin’s surface, without ever touching the top layer.
Their main goal is to create controlled heat in the dermis, the deeper layer of your skin where all your collagen is made. This gentle heating sends a powerful signal to your fibroblast cells—the little factories that produce collagen—telling them to wake up and get back to work.
It’s a bit like simmering a stew to bring out all the flavours. The slow, controlled heat doesn't burn the surface but works deep down to create a richer, more robust result. The laser essentially jump-starts your skin's own regenerative engine to rebuild firmness and smooth out texture from the inside out.
Because the skin’s surface stays completely intact, there’s barely any downtime. You might look a bit red for a day or so, but you can usually get straight back to your routine. These lasers are ideal for improving fine lines, mild textural issues, and overall skin tone.
Ablative Lasers: Resurfacing for a Fresh Start
For more significant sun damage, ablative lasers are the most powerful option out there. These treatments are the heavyweights of skin resurfacing.
Unlike their non-ablative cousins, ablative lasers work by precisely vaporising the outermost layers of damaged skin, one microscopic layer at a time. This process physically removes sun spots, deeper wrinkles, and rough patches, revealing the fresh, undamaged skin hidden underneath.
This approach also delivers a serious thermal punch, triggering a massive collagen-rebuilding response that continues for months. The combination of removing the old and stimulating the new leads to truly dramatic improvements in skin quality.
In the UK, laser and light-based therapies have become cornerstone treatments for repairing sun-damaged skin. Experts often recommend ablative and sub-ablative lasers, like Erbium and CO2, which promote the peeling of dead and damaged skin layers. For those seeking less intense options with shorter recovery, treatments such as LaseMD Ultra may need multiple sessions (3-6) for noticeable results. Stronger ablative treatments often require only a single session but come with significant downtime, while Intense Pulsed Light (IPL) remains a popular choice for breaking down excess melanin. To get more expert opinions, you can read more about these treatments from beauty editors at Harpers Bazaar UK.
Deciding between these powerful options really comes down to your personal goals and how much downtime you're prepared for.
Treatment Type | What It Does | Best For | Typical Sensation | Downtime |
|---|---|---|---|---|
IPL (Photofacial) | Uses light to shatter brown and red pigment. | Sun spots, broken capillaries, redness. | Hot snaps, like a rubber band flick. | Minimal (1-2 days of redness). |
Non-Ablative Laser | Heats the dermis to stimulate collagen. | Fine lines, mild texture, overall tone. | Warm, prickling sensation. | Very minimal (a few hours of redness). |
Ablative Laser | Removes the top layers of damaged skin. | Deeper wrinkles, significant sun spots. | Intense heat; requires numbing cream. | Significant (1-2 weeks of recovery). |
Ultimately, choosing the right laser or light therapy isn't a decision to make alone. A proper consultation with an expert is essential. They can assess the specific nature of your sun damage and guide you toward the technology that will give you the safest, most effective, and most satisfying results.
Restoring Skin with Microneedling and Skin Boosters
While lasers and peels are fantastic for tackling surface-level problems like pigmentation, some sun damage runs much deeper. Years of UV exposure don't just leave spots; they actively break down your skin's underlying structure, chipping away at the collagen and elastin that give it firmness and bounce. To truly fix this kind of damage, we need to go beyond the surface and rebuild from within.
This is where restorative treatments like microneedling and skin boosters really shine. Their goal isn't to strip away the old, but to kickstart your skin's own powerful regenerative processes. They're some of the best treatments for sun damaged skin when the main concerns are fine lines, rough texture, or that general loss of youthful plumpness.
Microneedling: Rebuilding Your Skin’s Foundation
Microneedling operates on a beautifully simple premise: controlled, microscopic injury triggers a healing cascade. A specialised device with ultra-fine needles creates thousands of tiny, invisible punctures in the skin.
Your body immediately registers this as a minor wound and springs into action. It floods the area with growth factors and, crucially, fires up the production of brand-new collagen and elastin.
I often tell my clients to think of it like aerating a lawn. You create tiny holes so that water and nutrients can get right down to the roots, resulting in stronger, healthier grass. Microneedling does the same for your skin, creating pathways for deep renewal that lead to a smoother, firmer surface.
This fresh wave of collagen is exactly what’s needed to counteract the structural breakdown caused by the sun. It effectively plumps up fine lines, smooths away rough patches, and strengthens the very framework that UV rays have spent years weakening.
Skin Boosters: The Ultimate Internal Moisturiser
If microneedling rebuilds the scaffolding, think of skin boosters as deeply rehydrating and conditioning the material itself. It’s important not to confuse these with traditional dermal fillers, which are designed to add volume and sculpt contours. Skin boosters use hyaluronic acid in a completely different way.
Instead of plumping a specific area, tiny micro-droplets are injected just beneath the skin's surface across a whole area, like the cheeks or décolletage. Here, the hyaluronic acid acts like an internal sponge, drawing in moisture and holding it for intense, long-lasting hydration that no topical cream could ever hope to match.
The results speak for themselves:
Improved Elasticity: Deeply hydrated skin is springier and more resilient, regaining that youthful bounce.
Enhanced Glow: When your skin is well-hydrated, it reflects light beautifully, giving you a natural, healthy radiance.
Smoother Texture: The intense hydration helps to iron out those fine, crepey lines that are a classic tell-tale sign of sun-induced dehydration.
These two treatments also work brilliantly in combination. You might use a course of skin boosters to restore hydration and overall skin quality, followed by microneedling to specifically address lingering textural issues. This kind of multi-pronged strategy lets you tackle sun damage from every angle, leading to far more comprehensive results. To learn more about combining procedures effectively, you can discover top non-invasive beauty treatments in our detailed guide.
Protecting Your Investment with Daily Sunscreen
We've walked through some incredible treatments for reversing sun damage, but now we need to talk about the single most important part of your skin health journey. Think of it this way: investing in professional treatments is a fantastic first step, but without the right follow-up care, all that hard-earned progress can vanish. This is where we shift from active repair to smart preservation.
Any treatment, whether it's a course of peels or a sophisticated laser session, is like making a down payment on your skin's future. Daily sunscreen is the insurance policy that protects that investment. It is, hands down, the most effective anti-ageing and health-preserving product you can possibly own.
Why Sunscreen Is a Non-Negotiable Step
Skipping sunscreen after a treatment is a bit like repainting a wall and then immediately letting someone scuff their shoes all over it. It just doesn't make sense. Your skin is especially vulnerable after a procedure; it's in a state of healing and regeneration. UV radiation can easily cause fresh inflammation and new patches of pigmentation, essentially undoing all the good work.
Applying sunscreen every single morning isn’t just a suggestion—it's the golden rule for keeping your results. It's the one habit that locks in the benefits of every other treatment and stops the cycle of damage from starting all over again.
So many of us still think of sun cream as something for the beach or a heatwave. The reality is that the UVA rays responsible for skin ageing are beaming down all year long, even on the greyest British days and straight through your office window. Making sunscreen a daily habit is the real secret to long-term success.
Making Sun Protection an Effortless Habit
Let's be honest: the best sunscreen is the one you'll actually use every day. Thankfully, the thick, chalky formulas of the past are long gone. Today's sunscreens can be so elegant they feel just like a luxury moisturiser. The trick is to find one you genuinely enjoy applying and make it a seamless part of your morning routine.
Choose Broad-Spectrum: This is crucial. It means you’re protected from both UVB rays (the burning ones) and UVA rays (the ageing ones).
Go for High SPF: You should be using SPF 30 at an absolute minimum. After a treatment, though, SPF 50 is the gold standard for daily defence.
Apply Generously: This is where most people go wrong. We tend to apply far too little. For your face and neck, a good rule of thumb is the two-finger method—squeeze a line of product onto your index and middle fingers, and that’s the right amount.
A recent YouGov survey really brought this home, showing that while we're getting better, there's still a misunderstanding about daily use. It revealed that 40% only wear SPF on holiday, even though sales of over 40,500 units show that people are buying it. We have it in our cabinets, but we're not always using it correctly for daily protection. You can read more about UK sun care attitudes in the full report.
Ultimately, consistency is everything. Find a product that works for you, whether it’s a chemical formula that sinks in instantly or a physical one that’s gentle on sensitive skin. If you prefer a non-irritating option that sits perfectly under makeup, a well-formulated mineral sunscreen with SPF30 suitable for both face and body can be a brilliant choice. Making this one simple step a daily ritual is what ensures every pound and minute you've invested in professional treatments continues to pay you back for years to come.
Your Questions About Sun Damage Treatments, Answered
Stepping into the world of aesthetic treatments can feel a bit daunting, and it's only natural to have a lot of questions. When you're thinking about investing your time and money into tackling sun damage, you deserve clear, straightforward answers. Here are some of the most common queries we hear from our clients every day.
How Long Until I Actually See a Difference?
This is probably the most-asked question, and the honest answer is: it completely depends on the path you take. Think of it as a journey, not a race.
If you’re relying on at-home topicals like retinoids or a good vitamin C serum, you're playing the long game. You'll need real consistency for at least three to six months before you start noticing a visible shift in things like pigmentation and skin texture.
Professional treatments, on the other hand, can speed things up considerably. A series of light chemical peels, for instance, might reveal brighter, more even-toned skin within a couple of months. For more powerful options like IPL or certain lasers, you're typically looking at a course of three to five sessions, usually spaced about a month apart. The truly satisfying, "wow" results often peak a few months after your final appointment.
Will It Hurt? A Realistic Look at Discomfort
Let’s be honest, the level of discomfort can vary quite a bit depending on how intensive the treatment is. Your own pain threshold plays a part, of course, but your practitioner has plenty of tools to keep you as comfortable as possible.
Topical products might cause a bit of initial tingling or dryness as your skin adjusts, but they're not what anyone would call painful. A light, superficial chemical peel often feels like a warm, slightly stinging sensation that fades very quickly.
It's the deeper peels and laser therapies that pack more of a punch. Many people describe the sensation of a laser pulse as a "hot rubber band snapping" against the skin. To manage this, we always use cooling devices and can apply a topical numbing cream beforehand. Afterwards, it’s quite normal for your skin to feel like you have a moderate sunburn for a few hours, or even a couple of days.
Can I Mix and Match Treatments for Better Results?
Not only can you, but this is often the gold-standard approach for achieving the best outcome. It’s like putting together a specialist team where each member tackles a different part of the problem. A really effective, bespoke plan might look something like this:
Foundation: Consistent at-home care with retinoids and antioxidants to prepare the skin and maintain your results for the long haul.
Pigment Targeting: A course of IPL sessions to specifically shatter those stubborn sun spots.
Texture Overhaul: A few microneedling appointments to kick-start collagen production and smooth out the skin’s surface.
This kind of multi-pronged strategy usually delivers superior results because each treatment is chosen for its unique strength. The key, however, is that this plan must be designed and overseen by a qualified professional. This isn't something to freestyle – expert guidance is essential for safety and to make sure the treatments work together, not against each other.
What’s the Single Most Important Thing to Do Afterwards?
If you take away only one piece of advice, let it be this: strict, unwavering sun protection. It’s non-negotiable. After any professional treatment, your skin is in a delicate, healing phase, which makes it incredibly vulnerable to UV damage.
Skipping this step can completely undo all the good work and money you’ve invested. Worse, it can lead to complications like post-inflammatory hyperpigmentation, where you end up with new dark spots. This means wearing a broad-spectrum, high-SPF (50+) sunscreen every single day, reapplying it diligently, and staying out of direct sun. This isn't just aftercare; it's the only way to protect your investment and keep your skin healthy.
At YOUTHFUL REVIVAL, we're here to guide you with honest advice and create a personalised plan that restores your skin's radiance. Explore our treatments and book your consultation with us today.
Comments